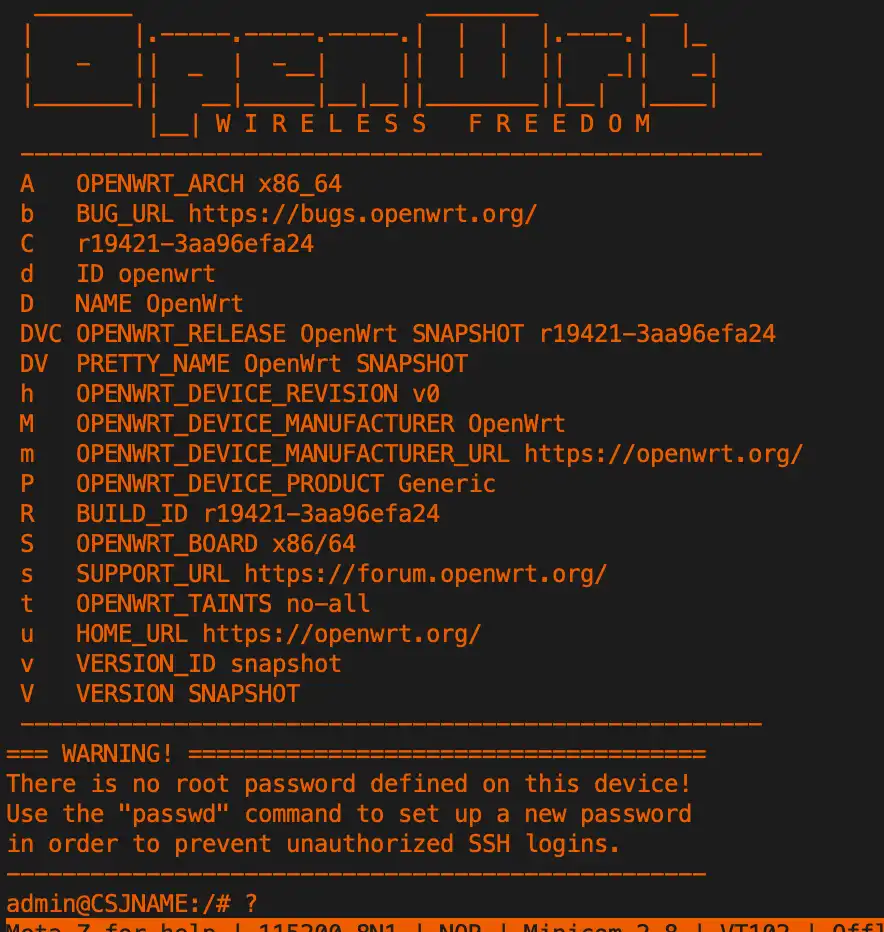
DIY_BANNER='
  _______                     ________        __
 |       |.-----.-----.-----.|  |  |  |.----.|  |_
 |   -   ||  _  |  -__|     ||  |  |  ||   _||   _|
 |_______||   __|_____|__|__||________||__|  |____|
          |__| W I R E L E S S   F R E E D O M
 -----------------------------------------------------
 A   OPENWRT_ARCH %A
 b   BUG_URL %b
 C   %C
 d   ID %d
 D   NAME %D
 DVC OPENWRT_RELEASE %D %V %C
 DV  PRETTY_NAME %D %V
 h   OPENWRT_DEVICE_REVISION %h
 M   OPENWRT_DEVICE_MANUFACTURER %M
 m   OPENWRT_DEVICE_MANUFACTURER_URL %m
 P   OPENWRT_DEVICE_PRODUCT %P
 R   BUILD_ID %R
 S   OPENWRT_BOARD %S
 s   SUPPORT_URL %s
 t   OPENWRT_TAINTS %t
 u   HOME_URL %u
 v   VERSION_ID %v
 V   VERSION %V
 -----------------------------------------------------'
#恢复banner echo -e " _______ ________ __\n | |.-----.-----.-----.| | | |.----.| |_\n | - || _ | -__| || | | || _|| _|\n |_______|| __|_____|__|__||________||__| |____|\n |__| W I R E L E S S F R E E D O M\n -----------------------------------------------------\n %D %V, %C\n -----------------------------------------------------">./package/base-files/files/etc/banner
自定义IP
效果图
diy_config 中的IP
1
DIY_IP=192.168.7.1
Run_diy_config 中的IP
1 2 3 4 5
grep 'lan) ipad=${ipaddr' ./package/base-files/files/bin/config_generate > ../diy/tmp/tmp old_ip=$(grep -oP '((\d)+.){3}\d+' ../diy/tmp/tmp) sed -i "s/$old_ip/$DIY_IP/" ./package/base-files/files/bin/config_generate sed -i "s/$old_ip/$DIY_IP/" ./package/base-files/files/etc/ethers sed -i "s/$old_ip/$DIY_IP/" ./package/base-files/Makefile
sed -i "s/$DIY_IP/192.168.1.1/"./package/base-files/files/bin/config_generate sed -i "s/$DIY_IP/192.168.1.1/"./package/base-files/files/etc/ethers sed -i "s/$DIY_IP/192.168.1.1/"./package/base-files/Makefile
这个没有什么,直接将地址替换
主题
效果图
diy_config 中的
1
2
#bootstrap material openwrt openwrt-2020 DIY_THEME='bootstrap'
源码有四个主题
Run_diy_config 中的
1 2 3
#DIY_THEME sed -i "/CONFIG_PACKAGE_luci-theme-/d".config echo"CONFIG_PACKAGE_luci-theme-$DIY_THEME=y" >> .config
#恢复DIY_HOSTNAME sed -i "s/hostname='$DIY_HOSTNAME'/hostname='OpenWrt'/" ./package/base-files/files/bin/config_generate
时区 TimeZone
效果图
diy_config 中的
1 2
DIY_TIMEZONE='CST-8' DIY_ZONENAME='Asia/Shanghai'
Run_diy_config 中的
1 2 3 4 5 6 7
#DIY_TIMEZONE filter_keywords "set system.\@system\[-1\].timezone=" sed -i "s*timezone='$OLD_KEYWORDS'*timezone='$DIY_TIMEZONE'*"./package/base-files/files/bin/config_generate
#DIY_ZONENAME sed -i '/ystem\[-1\].zonename=/d' ./package/base-files/files/bin/config_generate sed -i "/set system.\@system\[-1\].hostname=/a\ set system.@system[-1].zonename='Asia/Shanghai'" ./package/base-files/files/bin/config_generate
Diy_config_recover 中的
1 2 3 4
#恢复DIY_TIMEZONE sed -i "s*timezone='$DIY_TIMEZONE'*timezone='UTC'*" ./package/base-files/files/bin/config_generate #恢复DIY_ZONENAME sed -i '/ystem\[-1\].zonename=/d' ./package/base-files/files/bin/config_generate
##openwrt/package/base-files/files/etc/passwd temp=`head -1./package/base-files/files/etc/passwd` temp=${temp%%:*} if [ "$temp"=="root" ]; then sed -i "1i\\$DIY_USERNAME:x:0:0:root:/root:/bin/ash"./package/base-files/files/etc/passwd else sed -i '1d' ./package/base-files/files/etc/passwd sed -i "1i\\$DIY_USERNAME:x:0:0:root:/root:/bin/ash"./package/base-files/files/etc/passwd fi
##openwrt/package/base-files/files/etc/shadow temp=`head -1./package/base-files/files/etc/shadow` temp=${temp%%:*} if [ "$temp"=="root" ]; then sed -i "1i\\$DIY_USERNAME:::0:99999:7:::"./package/base-files/files/etc/shadow else sed -i '1d' ./package/base-files/files/etc/shadow sed -i "1i\\$DIY_USERNAME:::0:99999:7:::"./package/base-files/files/etc/shadow fi
#恢复DIY_USERNAME sed -i "s*option username '$DIY_USERNAME'*option username 'root'*"./package/system/rpcd/files/rpcd.config sed -i "s*option password '$DIY_USERNAME'*option password '\$p\$root'*"./package/system/rpcd/files/rpcd.config sed -i '1d' ./package/base-files/files/etc/passwd sed -i '1d' ./package/base-files/files/etc/shadow #sed -i "s/page.sysauth = \"$DIY_USERNAME\"/page.sysauth = \"root\"/"./feeds/luci/modules/luci-mod-admin-mini/luasrc/controller/mini/index.lua sed -i "s/duser = \"$DIY_USERNAME\"/duser = \"root\"/"./feeds/luci/modules/luci-base/luasrc/dispatcher.lua
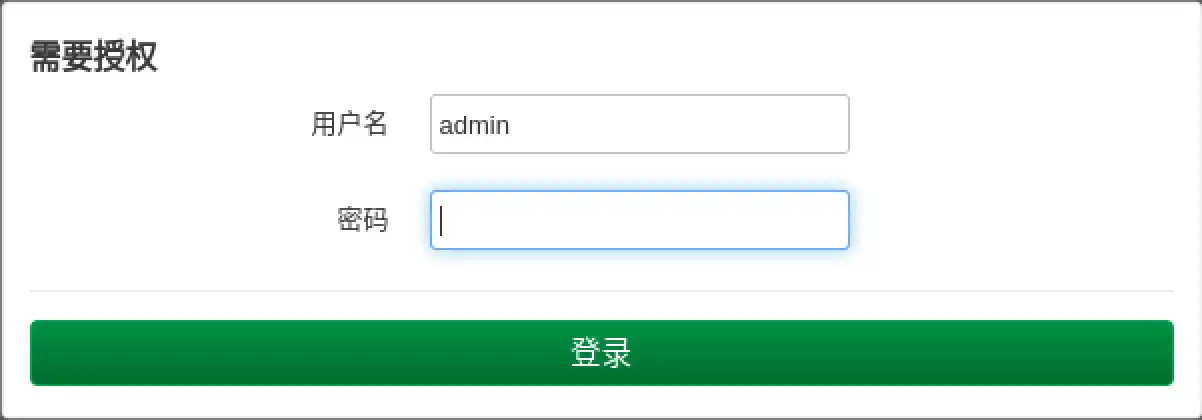
隐藏登录名
效果图
diy_config 中的
1
2
#DIY_HIDE DIY_HIDE='n'
Run_diy_config 中的
1 2 3 4 5 6 7 8 9 10 11 12
#DIY_HIDE ##openwrt/feeds/luci/modules/luci-base/luasrc/view/sysauth.htm case$DIY_HIDEin "y") sed -i "s/value=\"<%=duser%>\"/value=\"\"/"./feeds/luci/modules/luci-base/luasrc/view/sysauth.htm sed -i "s/type=\"text\"<%=attr(\"value\", duser)%>/type=\"text\"/"./feeds/luci/themes/luci-theme-bootstrap/luasrc/view/themes/bootstrap/sysauth.htm ;; "n") sed -i "s/value=\"\"/value=\"<%=duser%>\"/"./feeds/luci/modules/luci-base/luasrc/view/sysauth.htm sed -i "s/type=\"text\"/type=\"text\"<%=attr(\"value\", duser)%>/"./feeds/luci/themes/luci-theme-bootstrap/luasrc/view/themes/bootstrap/sysauth.htm ;; esac
Diy_config_recover 中的
1 2 3
#恢复DIY_HIDE sed -i "s/value=\"\"/value=\"<%=duser%>\"/"./feeds/luci/modules/luci-base/luasrc/view/sysauth.htm sed -i "s/type=\"text\"/type=\"text\"<%=attr(\"value\", duser)%>/"./feeds/luci/themes/luci-theme-bootstrap/luasrc/view/themes/bootstrap/sysauth.htm